
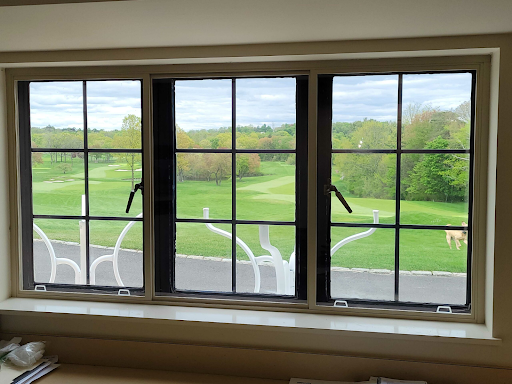
Old homes carry undeniable charm—architectural details, character-rich windows, and craftsmanship rarely seen today. Yet, while beautiful, these homes often struggle with drafts, high energy bills, and inefficient insulation. One practical solution homeowners often overlook is storm window replacement. Beyond preserving the aesthetics of older houses, storm windows provide durability, efficiency, and comfort without requiring a full-scale renovation.
This guide explains why storm windows matter for aging properties, explores types of systems available, and walks through the steps of replacing them effectively.
Why Storm Windows Matter in Old Homes
Original wood windows in historic or older houses are often integral to the home’s design. Removing them can diminish both value and character. However, these windows rarely meet modern energy standards, which leaves homeowners facing higher heating and cooling costs.
That’s where storm windows and exterior upgrades come in. Acting as an additional protective barrier, storm systems shield original frames from weather exposure, reduce air leakage, and improve overall insulation. By installing or replacing storm windows, homeowners extend the life of existing units while also cutting down on energy use.
For homes in climates with frequent temperature swings, the benefits are particularly striking: better comfort year-round, reduced noise infiltration, and preservation of heritage aesthetics.
Choosing Between Standard and Custom Storm Windows
When considering storm window replacement, homeowners must decide between off-the-shelf models and tailor-made options.
- Standard Storm Windows: These are pre-manufactured to fit typical window dimensions. They are affordable, widely available, and relatively easy to install.
- Custom Storm Windows: These are designed specifically for unique openings—common in older homes where window sizes vary significantly. A custom storm window ensures a precise fit, improved performance, and seamless integration with original design elements.
The choice depends on your property’s needs. If your old home features arched, oversized, or irregular window openings, custom solutions may be the best route.
Signs It’s Time for Replacement
Storm windows don’t last forever. Signs that indicate replacement is overdue include:
- Condensation or fogging between the panes.
- Warped or bent frames that compromise the seal.
- Cracked or broken glass.
- Drafts felt even when the storm window is closed.
- Difficulty opening, closing, or locking the unit.
If your current windows show two or more of these signs, it’s time to consider storm window replacement as a necessary investment.
Step-by-Step Guide to Storm Window Replacement
Replacing storm windows can be a manageable project for handy homeowners. Below is a structured guide:
Step 1: Take Accurate Measurements
Measure the width and height of each window opening at three points (top, middle, bottom for width; left, center, right for height). Record the smallest measurement in each direction to ensure the storm window will fit snugly.
Step 2: Choose Frame and Glass Type
Frames typically come in aluminum, vinyl, or wood. Aluminum is durable and low-maintenance, while wood blends seamlessly with traditional aesthetics. Glass can be clear, low-E (energy-efficient), or tinted for glare reduction.
Step 3: Remove the Old Unit
Carefully unscrew and remove the existing storm window. Take caution not to damage the original sash or trim of the underlying window.
Step 4: Prepare the Opening
Clean debris, caulk any gaps, and make sure the surface is even. A clean opening ensures a tighter seal when the new unit is installed.
Step 5: Install the New Storm Window
Set the new storm window into the frame, making sure it is level and flush with the siding. Secure it with screws, starting at the top, then the sides, and finally the bottom. For storm windows exterior units, add weather stripping to improve insulation.
Step 6: Seal and Finish
Apply caulk around the perimeter where the storm frame meets the original window. This prevents water infiltration and air leaks. Finally, check that the panels slide or open smoothly.
Cost and Long-Term Savings
The upfront cost of storm window replacement is significantly lower than full window replacement. On average, storm units cost between one-fourth and one-half the price of new primary windows. More importantly, they provide long-term returns:
- Up to 30% reduction in heating and cooling bills.
- Lower maintenance costs since they shield original windows from weather damage.
- Extended property value by preserving historic authenticity.
In old homes, these savings often offset the cost of replacement within a few years.
Maintenance Tips After Installation
Once installed, proper care ensures storm windows last for decades.
- Regular Cleaning: Keep both the glass and frame free of dust and dirt.
- Check Seals: Inspect caulking annually and reapply as needed.
- Lubricate Tracks: If your storm window slides open, apply silicone spray to keep it smooth.
- Seasonal Adjustments: Ensure screens or vents are in place during warmer months to allow airflow.
Proactive care prevents premature wear and helps maintain insulation benefits.
Conclusion
For homeowners seeking a balance between preserving charm and enhancing comfort, storm window replacement is an invaluable solution. Whether opting for standard models or investing in custom storm windows, this upgrade protects original features, improves energy efficiency, and ensures the longevity of cherished homes. With careful selection, proper installation, and routine maintenance, storm windows provide decades of performance while keeping the character of your old home intact.